Tungsten carbide drill bushings are essential components in various industrial and manufacturing processes. These durable fittings ensure precision and longevity in drilling applications. In this guide, we will provide an in-depth look at the installation process of tungsten carbide drill bushings, their uses, and their advantages. By following this expert guide, you can achieve optimal performance and durability from your carbide drill bushings.
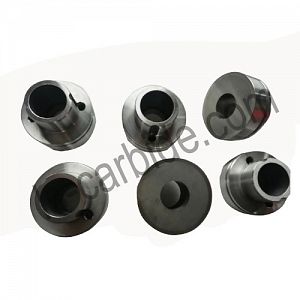
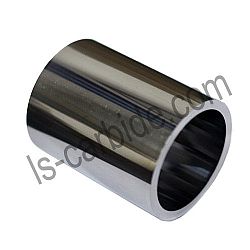
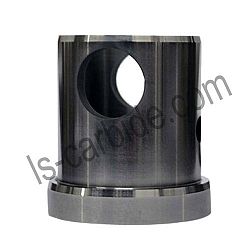
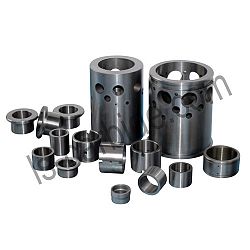
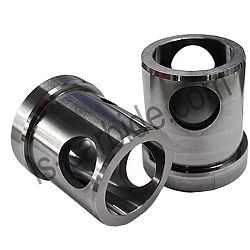
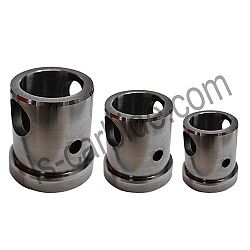
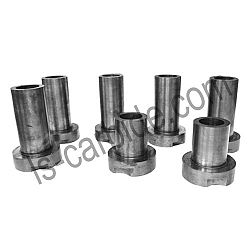
Tungsten carbide bushings, also commonly referred to as carbide drill bushing, are engineered for extreme wear resistance and durability. These bushings are often used in jig and fixture applications to guide, align, and support cutting tools. The inherent hardness of tungsten carbide makes these bushings ideal for environments where high precision and longevity are paramount.
Start by gathering all the necessary tools and materials, including the tungsten carbide drill bushing, installation jig, reamer, and lubricant. Ensure that the work area is clean and free of debris to prevent contamination.
Using a drill press, create a hole in the fixture where the bushing will be installed. The hole should be slightly smaller than the external diameter of the bushing to ensure a tight fit.
Employ a reamer to achieve the final diameter. Reaming helps to smooth the hole’s interior surface and ensures uniformity. The diameter must match the recommended size specified by the bushing manufacturer.
Clean the reamed hole thoroughly to remove any residue. Apply a small amount of lubricant to both the hole and the outer surface of the bushing. This facilitates easy installation and prevents galling.
Using an arbor press, insert the carbide drill bushing into the reamed hole. Apply steady, even pressure to ensure the bushing is seated correctly without causing damage. Avoid using excessive force, which can lead to misalignment or cracking.
Once the bushing is installed, inspect it to ensure it is flush with the surface of the fixture and properly aligned. Any misalignment can affect the accuracy and performance of the drill.